You just got engaged and now the wedding planning begins! It’s no secret how much goes into the planning process, and it can get tricky or stressful. However, with the right resources and a helpful organization tool, you’ll be saying “I do” in no time at all.
To help you stay organized, Shutterfly put together a DIY wedding binder in 6 easy steps. From black and white to leaf, there are three themes to choose from. Download and add these beautiful themed printables to your binder and match your own unique style or wedding theme. It’s one place to hold everything – your wedding to-do lists, meetings, contracts, inspiration or ideas.
What You’ll Need

You will need the following materials to get started:
8.5 by 11 three-ring binder — the printables work best in this size.
Binder printables
Tab stickers
Sticker letters
Sticky notes
Pens
Clear pocket sheets
Three-hole puncher
6 Steps to DIY Wedding Binder
1. Pick Your Binder
Choose the binder that you’ll put everything in. Either match it to your wedding theme or do something totally fun and unique.

2. Personalize Your Binder
Personalize your DIY wedding binder by adding your initials, wedding date or other beautiful embellishments. The unique details will ensure your binder is extra special to look back on and commemorate the process.

3. Download the Printables
Print the wedding binder printable theme you like best. You will need to hole punch them and decide how to arrange them. Feel free to leave out any pages that don’t fit your planning.

4. Add Dividers
Tab dividers are helpful for an extra level of organization. These will help you refer to the right category and flip through easily.

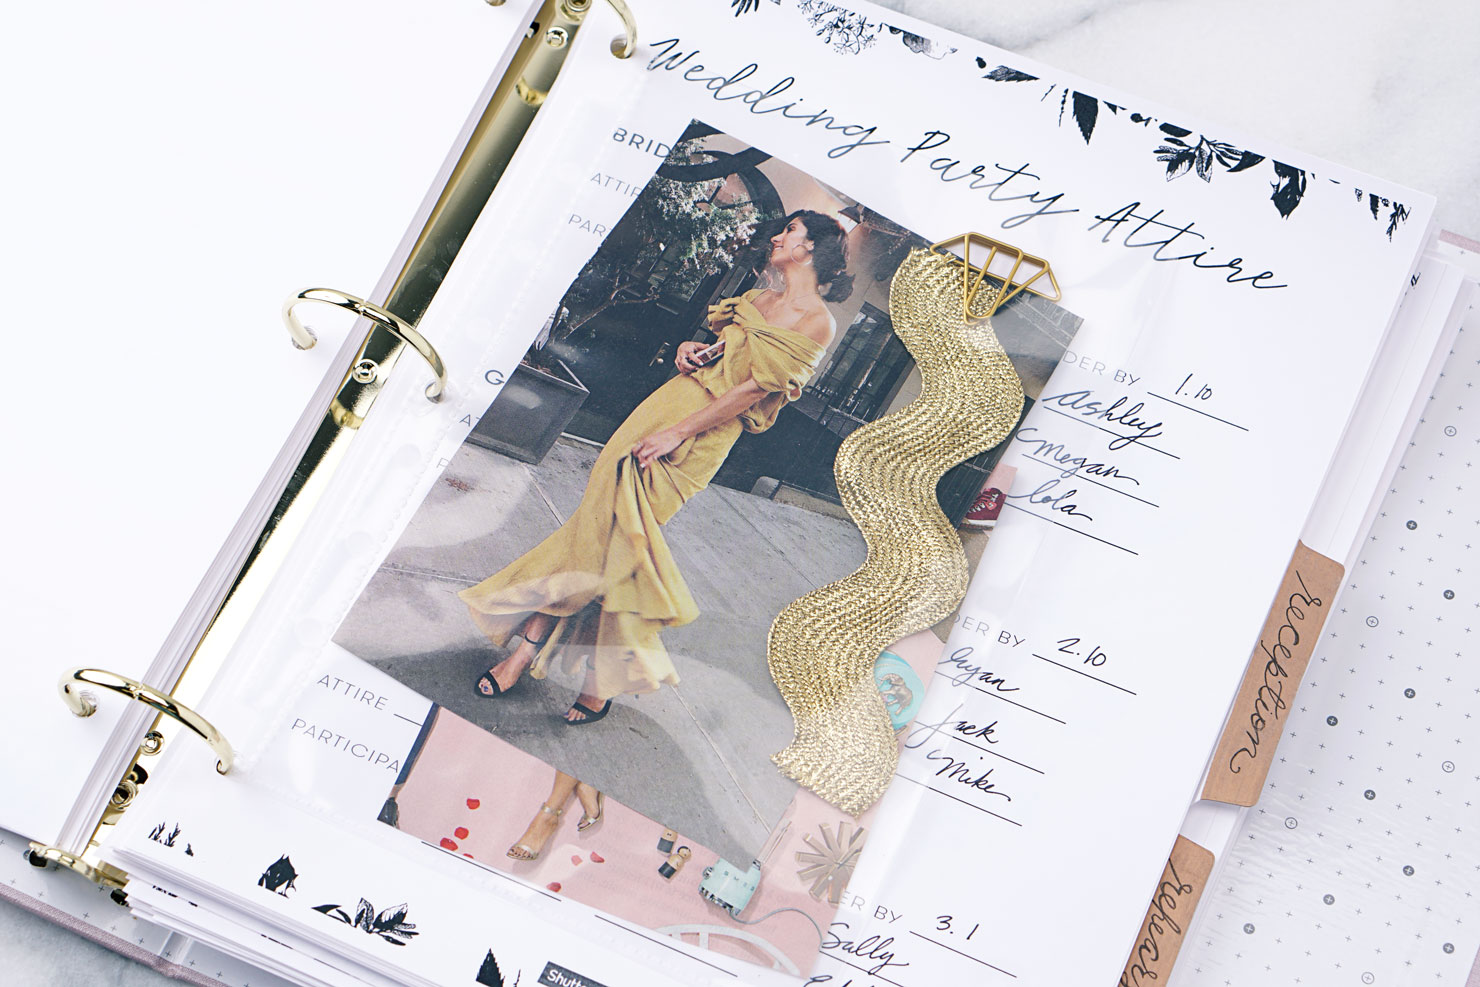
5. Include Pocket Sleeves
Pocket sleeves are great for including miscellaneous items: our save the dates, wedding invites, magazine inspo, color swatches or other items to refer to as inspiration.
6. Add Extra Pages
If needed, you can add to or subtract along the way, depending on how the planning is going. Your wedding planner may recommend things you’ll want to include. You have an extra section for notes.
Whatever style or wedding theme you choose, your DIY wedding binder will your go-to resource throughout the planning process. Not only will it be uniquely you, but helpful and organizational to ensure your special day goes as seamless as possible. Happy wedding planning!

This post was guest-written by staff at Shutterfly, and all images were provided by them. Risa James Events has no financial relationship with Shutterfly.
If you're feeling overwhelmed by planning your wedding, we are here for you! Read more about what we do on our Welcome and Packages pages. Email risa@risajamesevents.com if you have questions or want to inquire about getting help with wedding planning. And if you'd like to have future blog posts delivered to your inbox, please join our Insider’s Club on the Welcome page.